Moving from a 2017 iMac 5K (and MBP) and a 2021 MacBook Pro M1 Pro

I’m excited by the new 2021 MacBook Pro computers.  They are a great evolution from the 2020 models, and the performance and battery gains from the Intel machines are impossible to ignore.

I’m planning to replace an iMac and MacBook Pro with a new M1 MacBook Pro.

My iMac

I have a 2017 5K iMac which has been the best computer I have ever owned.  I bought it expecting it to last me 5 to 10 years.  Well, it’s been nearly 5 years and until the M1 chips came along I had no reason to think about changing it.

The performance is incredible, and the screen is still the best you can buy.

But this computer will now devalue quickly (because of the new M1 chips), and I want to get what I can for it.

My 2015 MacBook Pro

I also have a 2015 MacBook 15″ Pro.  I used to have the 13″ version which was the best laptop I had ever owned, but upgraded to the 15″ as I mainly used it when on site with clients, and the screen space was valuable.  I also used it occasionally as my work from home computer when I had an office in Brighton, where the iMac lived.

This laptop is quite big and the fans run loud even with the slightest load on the CPU. I even used a fan control app to reduce the spinning.

The new 2021 MacBook Pro M1

This new laptop is amazing.  17 hours of battery life, the very fast M1 Pro processor, MagSafe, HMDI, 3 x Thunderbolt/USB ports.  It’s a return to the great Apple laptops of the past.

Replacing the iMac

The idea was to buy the M1 laptop and replace the iMac and old MBP with the single computer.  I don’t work at multiple locations anymore, I rarely work on site with clients, and I need a more powerful laptop for Serato DJ software.

The iMac is my main monitor and I have an old Thunderbolt display as my second monitor.

So I just buy a new monitor to replace the iMac and I’m set, right? Well, no.

I’ve now discovered just how much the iMac does, and how much needs to be done to replace it.  It’s not just a computer with a screen.  Here’s what it really is:

  1. Desktop computer
  2. 5K monitor
  3. Thunderbolt, USB, SD card and Ethernet hub
  4. Excellent speakers
  5. Webcam
  6. Keyboard
  7. Mouse

To replace the iMac I’ve bought the following

  1. LG 27″ 4K display

I already have

  1. Keyboard
  2. Mouse
  3. Thunderbolt Display will act as USB and Ethernet hub (and possibly webcam)
  4. The laptop has a webcam (better than the display) and SD card reader.

Who knows, one day I might get another iMac for my home office as well as the M1 laptop, but I’m glad to removing the need to sync files between computers.  I used DropBox for this, and I’m keen to not use DropBox anymore.
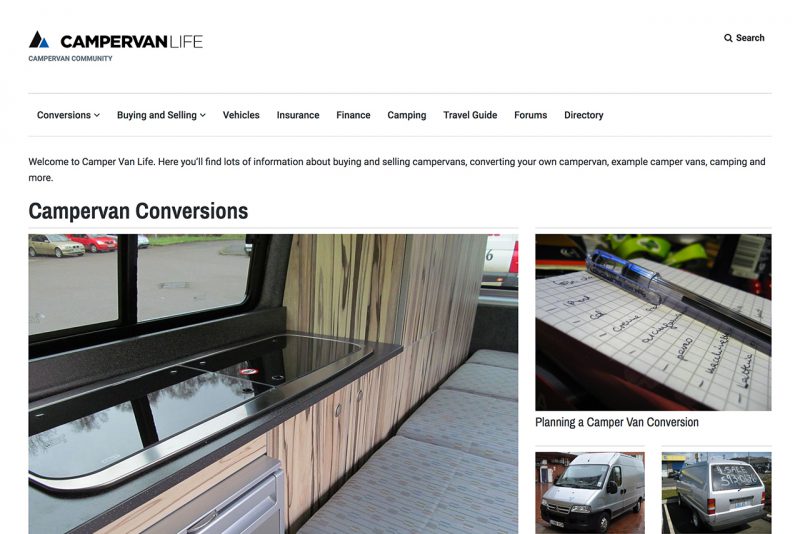
Rebuild of CampervanLife.com – day 5 – Import of data and Pre-go Live

Newsletter

I decided to get a newsletter subscribe form active right from the start.  Previously I had used a Drupal module to collect emails and to send the emails.  This worked out OK.

For smaller projects I use MailChimp.  I love the user interface and simplicity of MailChimp.  The website has about 1,800 subscribers, which is close to MailChimps free account limit of 2,000 subscribers.  At this point I’m keen to keep costs down, and until I actually send a newsletter I’m really just collecting email addresses.  I installed the Newsletter plugin, and configured it in the footer.

Homepage?

Page structure

I decided to re-structure the site slightly.

URLs

During the import of the content from Drupal some of the URLs were changed.  I went through each of the major pages, checking the URL matched that of the Drupal site, adding 301 redirects where necessary.

During the import

Im surprised by how many plugins I’ve needed to install to replicate the features I was using on the Drupal site.


SSL

I activated the free Let’s Encrypt SSL certificate in SiteGround.  Then used the interconnectit.com search and replace script to change all occurrences of http://www.campervanlife.com to https:/www.campervanlife.com.


Rebuild of CampervanLife.com – day 4 – Pre-import checks and theme selection

This is the first post in a multi-part series where I document the rebuilding and promotion of an existing website. Find out more

Pre-import

The pre-import went pretty well.  I had to add author and comments to several of the post types to preserve the data from the Drupal site.  All of the posts and comments imported straight into the new site.

There are a few broken posts types, such as the old photo gallery, and extra fields for member profiles.  I’ve established that I can get to this data in the old Drupal database, and will fix that when I add those features to the website.

Themes

Hmm, now I have to select a theme.  There’s a lot to consider.

Let’s run through some popular features, and see how I feel about them (roughly top to bottom):

  • Header – Important to have an advertising banner in the header.  A sticky header would also be good.

First, let’s look at the logo, as this will help to give context to the design


Campervan Life logo, in blue


I’ll run through the options

AlleycatThemes

The premium theme company that I ran.  Surely I would dog-food my own themes?  Nope.  Those themes were amazing at building pages, brochure websites.  They had lots of options, and custom page builder (Visual Composer) components.  There was a lot of code, much of which needed re-writing.  Too bloated.

Something from ThemeForest – Nope.  Too bloated.  I am sure there are some great themes on ThemeForest, but I just don’t have the confidence to use one.

Homepage


https://demo.tagdiv.com/newsmag/ – Feels narrow and cluttered.  Some good features.

Homepage


http://demos.cubellthemes.com/?product=wp15zine

ElmaStudio – http://www.elmastudio.de/en/themes/

Latest from the blog

View All
Social media & sharing icons powered by UltimatelySocial